bookmark this page - make qweas your homepage  
Help Center - What's New - Newsletter - Press  
Get Buttons - Link to Us - Feedback - Contact Us  
Home | Download | Store | New Releases | Most Popular | Editor Picks | Special Prices | Rate | News | FAQ
Advanced Search ...
All Downloads     Qweas Downloads
Audio & MP3
Video & DVD
Graphics Tools
Animation Tools
Font Tools
Icon Tools
Image Processing
Image Converters
Photo Organizers
Screen Capture
Screensaver Tools
Security & Anti-Virus
Internet Utilities
System Tools
File Converters
Makers & Designers
Business Finance
Home & Education
Web Authoring
Game Downloads
Screensavers
Pocket Devices


Web qweas.com


ACA Capture Pro 5.2 - User Guide and FAQ

Screenshots - More Details

Download Site 1       Download Site 2       Download Site 3       Buy Now $39.95

Capture screen Image From Your Photos

Using Region Capture mode of ACA Capture Pro to capture an image anywhere on the screen.

Step 1: Start ACA Capture Pro, select "Capture Region" command.

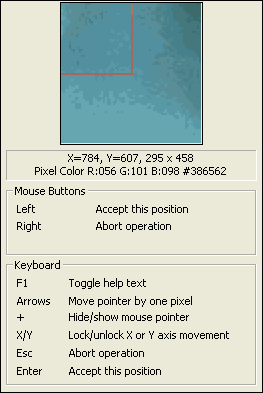
Step 2: A large cross cursor will appear, drag the outline to enclose the area you want to capture, click the left mouse button or press Enter key to complete the capture. The zoom image, size and position (in pixels) of the capture will be shown within the help window.
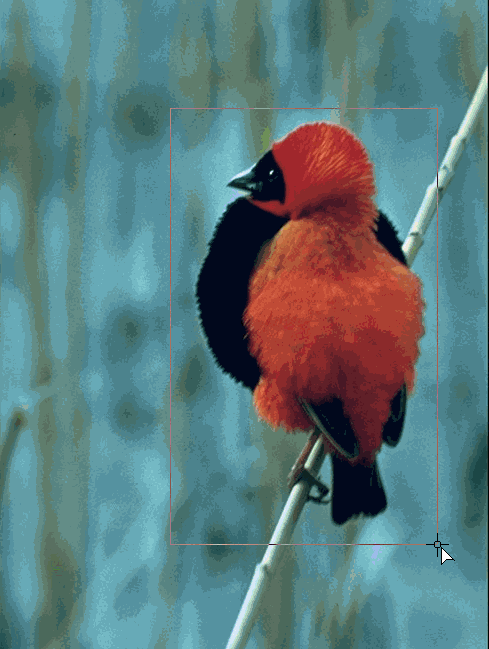


OK, we just get a beautiful bird!

Frequently Asked Questions - ACA Capture Pro

  1. What different between ACA Capture and ACA Capture Pro?
    ACA Capture Pro includes all features of ACA Capture, and it has many enhanced features: capture all flash file from web page, create videos of your computer screen (make AVI Video/Movie), and capture any icons whatever from a file, a directory, or whole hard disk on your computer.

  2. How to make ACA Capture Pro always start (or auto-start) minimized?
    Please do the following steps:
    1. Select "Tools->Options" menu from ACA Capture Pro window.
    2. Click on "Capture" tab.
    3. You can turn on or off the following options there:
      • Start as a minimized icon
      • Auto load ACA Capture when Windows starts
    4. Click on "OK" button to close the options dialog.


Screenshots - More Details

Search - Download - Store - Directory - Service - Developer Center
© 2006 Qweas Home - Privacy Policy - Terms of Use - Site Map - About Qweas